
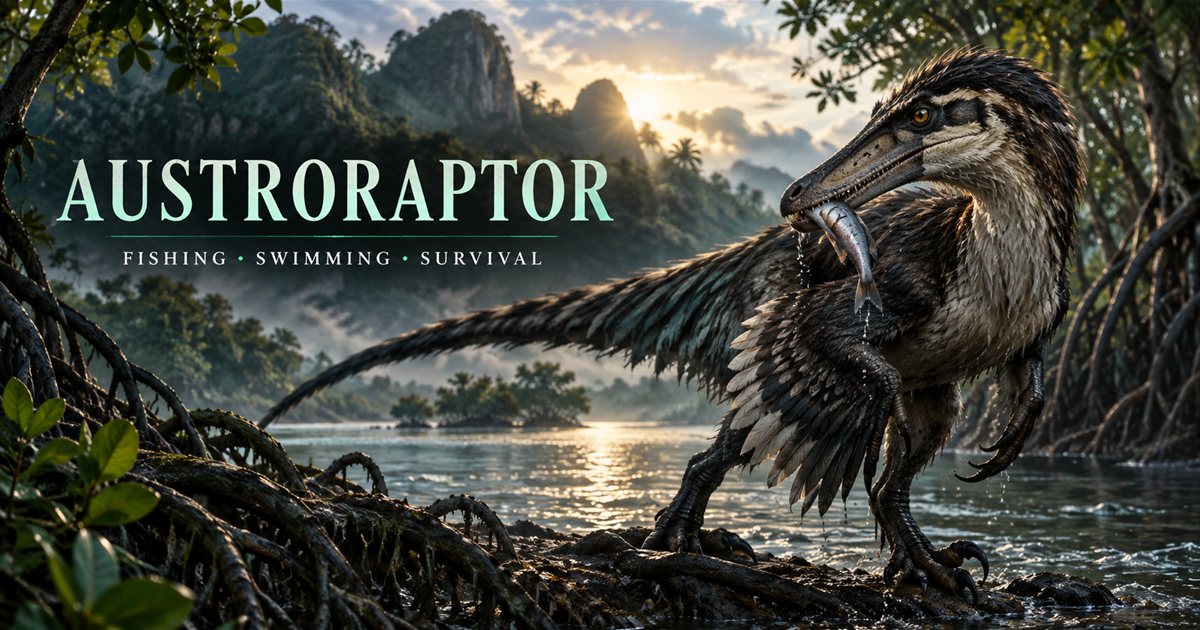
Austroraptor combines land travel with water-based opportunities in The Isle EVRIMA. Start by learning where an action takes you: the fishing position, the water jump and the return to shore. A successful catch matters less if it leaves you hungry for another resource, far from a manageable exit or beside an animal you did not notice.
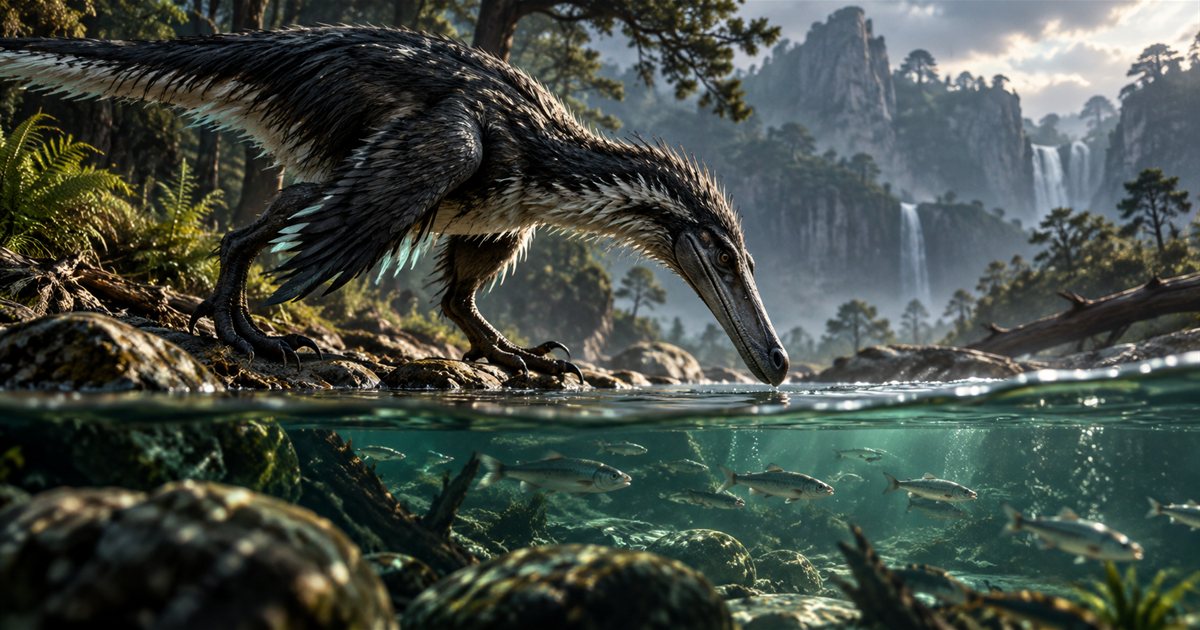
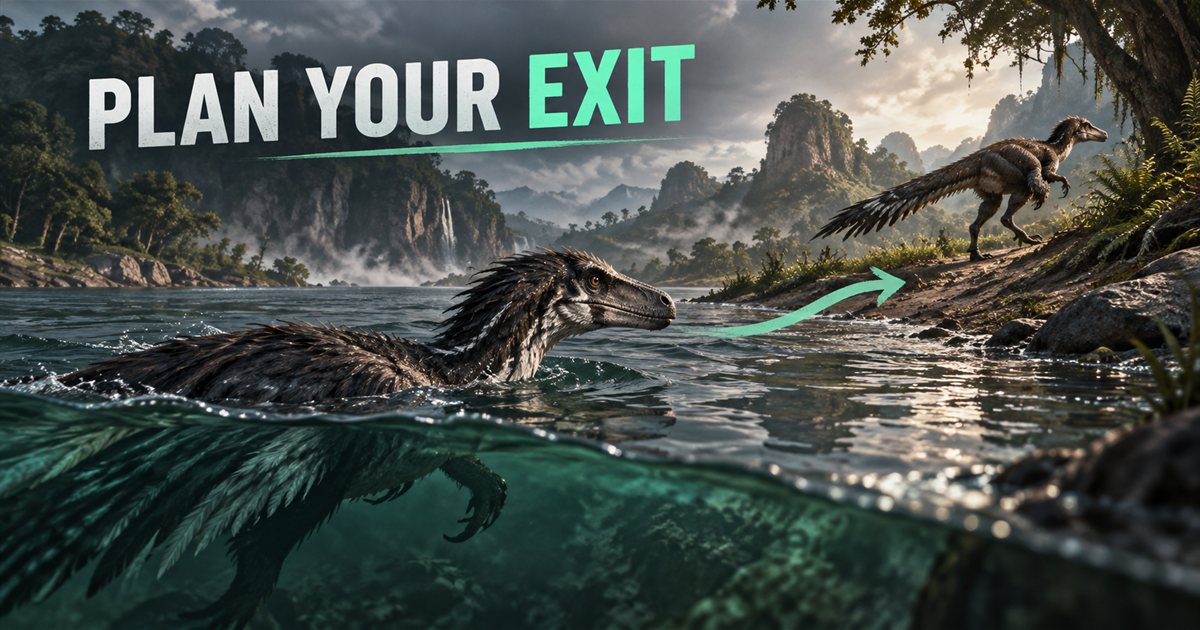
This guide covers released reference controls, daylight fishing, food decisions and practical Gateway travel. Its three AI-generated illustrations are conceptual artwork, not screenshots, exact map routes or reproductions of ability animations. Your current Controls menu, Status Report and server rules take priority.
Austroraptor controls: learn the public-branch actions first
The official Patch 0.21.772 announcement added Austroraptor to the EVRIMA Public Branch. It lists the three actions below. These are reference bindings from that announcement; customised bindings or later updates may differ.
| Reference input | Listed action | Practice objective |
|---|---|---|
| RMB | Pounce | Understand the approach and recovery before using it in an encounter. |
| Spacebar | Water jump from surface swimming | Choose where you expect to land and check the return to shore. |
| G | Spearfishing stance during daytime | Learn the stance in daylight before combining it with travel. |
Practise one action at a time. For the water jump, begin near an easy bank rather than the middle of an unfamiliar channel. For fishing, separate entering the stance from approaching a fish and responding to the game prompt. This makes a failed attempt easier to understand and prevents repeated key presses from becoming your only plan.
Austroraptor fishing: prepare a daylight session
The release notes describe the spearfishing stance as a daytime action with functionality similar to Pteranodon spearfishing. That is the useful starting point; it does not establish a universal catch distance, success rate or food supply. Observe the fish and current prompts in your own session instead of copying an exact timing claim from an older clip.
Approach a visible fishing opportunity from a position you can leave. Look at the bank, the surrounding ground and the route back before focusing on the water. If the fish move away, reset your position rather than following them indefinitely. A short attempt followed by a resource check is easier to manage than a long chase that changes your entire journey.
After an attempt, inspect what actually happened. Did you obtain food? Did the hunger bar change? Is the next objective still fishing, or has another need become more urgent? The live result should decide the next action. Do not keep performing the same demonstration simply because it worked once.
If the stance appears unavailable, check the time of day and your binding first. Confirm you are on the intended branch and read current controls before treating it as a bug. This guide does not recommend deleting configuration folders to troubleshoot a single misunderstood action.
Food planning: distinguish a catch from a complete diet
Read the current food panel before choosing a trip. Hunger and nutrient needs are different questions. Something you can eat may help one need without completing every bar. Use the current species information and the result after eating to decide whether to remain nearby or change the objective.
A practical first loop connects a familiar resource area with a recognisable stopping point. Check the surroundings before feeding, then inspect your bars again. If another resource is required, choose that deliberately instead of extending the fishing session without a reason. Our food and diet guide explains this decision process in more detail.
Map references help you find places worth inspecting. They do not confirm fish are present now or that a location meets your current diet. If an area does not supply what you need, retain your orientation and move to another manageable option. A resource label is a reference, not a reservation.
Swimming on Gateway: inspect the exit before the crossing
Before entering a channel, identify where you intend to leave it. Look for a bank you can actually approach, solid ground beyond it and somewhere to pause after arriving. A destination that appears close on a map may involve an awkward slope or vegetation once you reach the edge.
Keep the first swim short enough to understand. Observe your movement and resources, and make the return while the starting bank is still familiar. Once you know the local behaviour, expand the trip gradually. Do not treat a water jump as proof that every bank or obstacle is reachable.
Swimming ability does not make water free of threats. A quiet surface does not confirm what is below it, and another player's absence from your app squad does not establish that the water is empty. If the approach becomes uncertain, reassess from land rather than using the crossing as the experiment.
Pounce and escape decisions: consider the next position
Before engaging, decide what the action is meant to achieve. If the priority is departure, choose the direction and inspect the ground first. If you are practising an ability with another player, agree on the exercise and obey the server's rules. An agreed practice session does not make the same behaviour safe with a stranger.
Judge the whole area rather than a single target. Additional animals, an obstructed bank or difficult terrain can change the situation while you focus on the first opponent. Leave room to revise the plan. This guide avoids fixed match-up guarantees because growth, condition, player decisions and updates all matter.
Young Austroraptors: build familiarity before long trips
Check which actions your current animal can perform rather than assuming an adult demonstration applies unchanged. Choose a simple feeding objective, learn one nearby landmark and practise the return. Protecting progress often means postponing an unnecessary encounter until you understand the terrain and available actions.
If friends are travelling with you, agree on a shore meeting point both animals can reach. A marker in the same area does not tell you whether the other player is on land, in water or moving toward another bank. Say what you can see and which side you are approaching. Use our growth guide for broader progression planning.
Using TheIsleMinimap during water travel
Enable relevant Map Layers to compare water and location references with your objective. Copy Asset Location, or use approved local coordinate reading while Lat and Long are visible. Your marker reflects the latest accepted coordinate update; it does not continuously track you while the coordinate panel is hidden.
Solo Lifetime supplies local navigation. Squad plans add a private app group for up to four players, separate from the game's grouping rules. The app does not read food, stamina, fish availability or hidden opponents. It also does not choose crossings or operate abilities.
For the next session, pair this guide with our water guide and weather guide. A useful plan remains flexible when visibility or the live resource situation changes.
Austroraptor questions
Is Austroraptor available on the EVRIMA Public Branch?
The official 0.21.772 announcement added it to that branch. Check your installed branch and current patch notes if your roster differs.
Why is spearfishing not working at night?
The release reference describes the G fishing stance as daytime-only. Confirm time and current bindings before repeating the input.
Does the minimap show fish or underwater enemies?
No. Water references and accepted coordinate markers help orientation; you must inspect resources and threats in the game.