
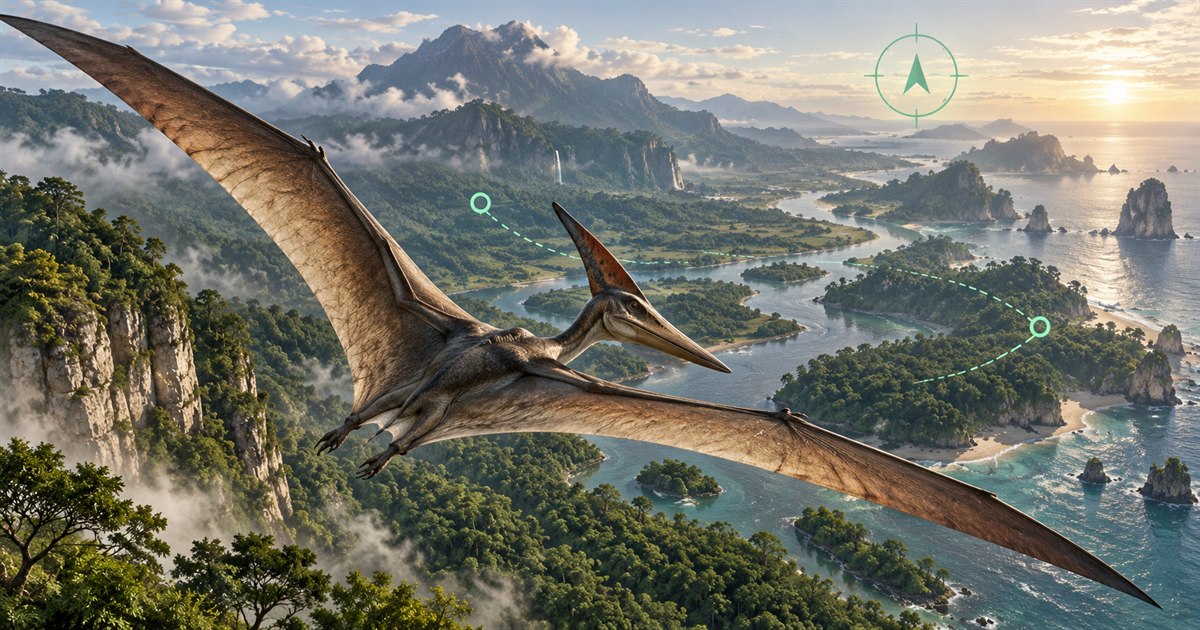
Looking for The Isle EVRIMA Pteranodon controls, wondering how to fly or struggling to catch fish? Start with a short, repeatable loop: launch from somewhere manageable, make one controlled flight, return to a workable landing and practise feeding before exploring further. Flying gives you a different view of Gateway, but it does not remove the need to manage supplies and choose your next stop.
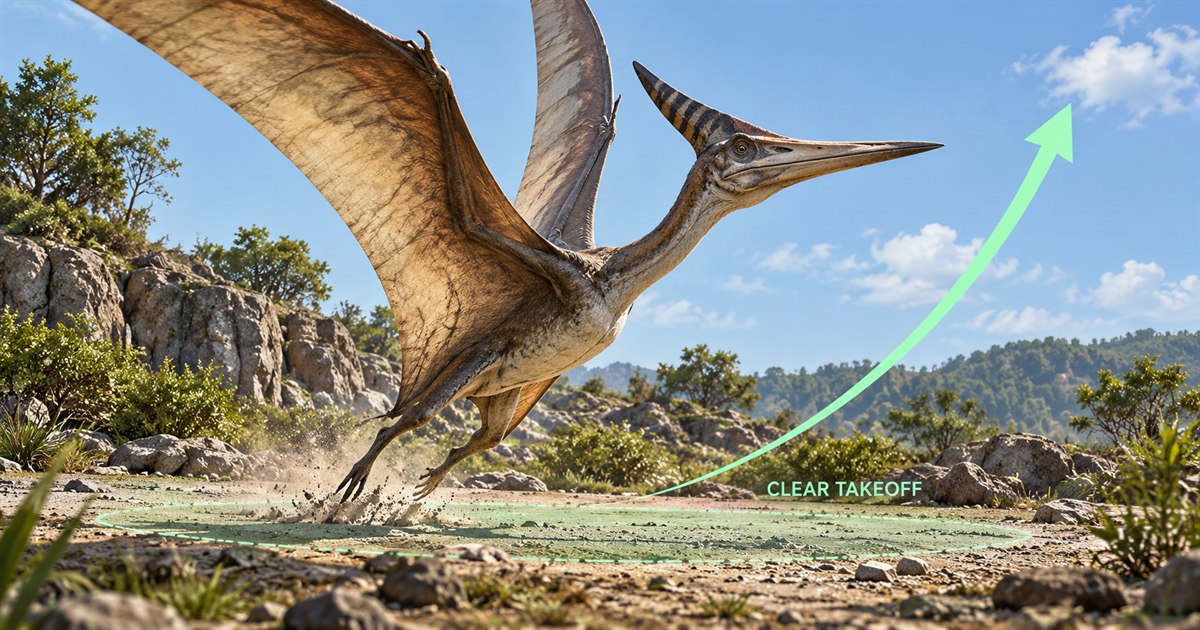
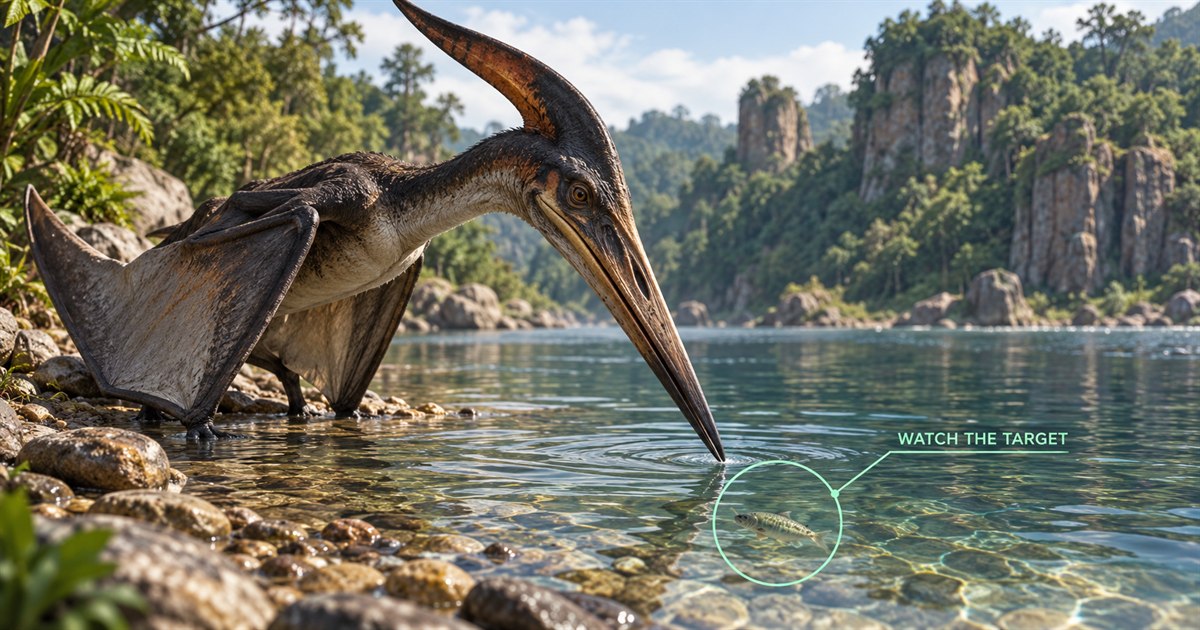
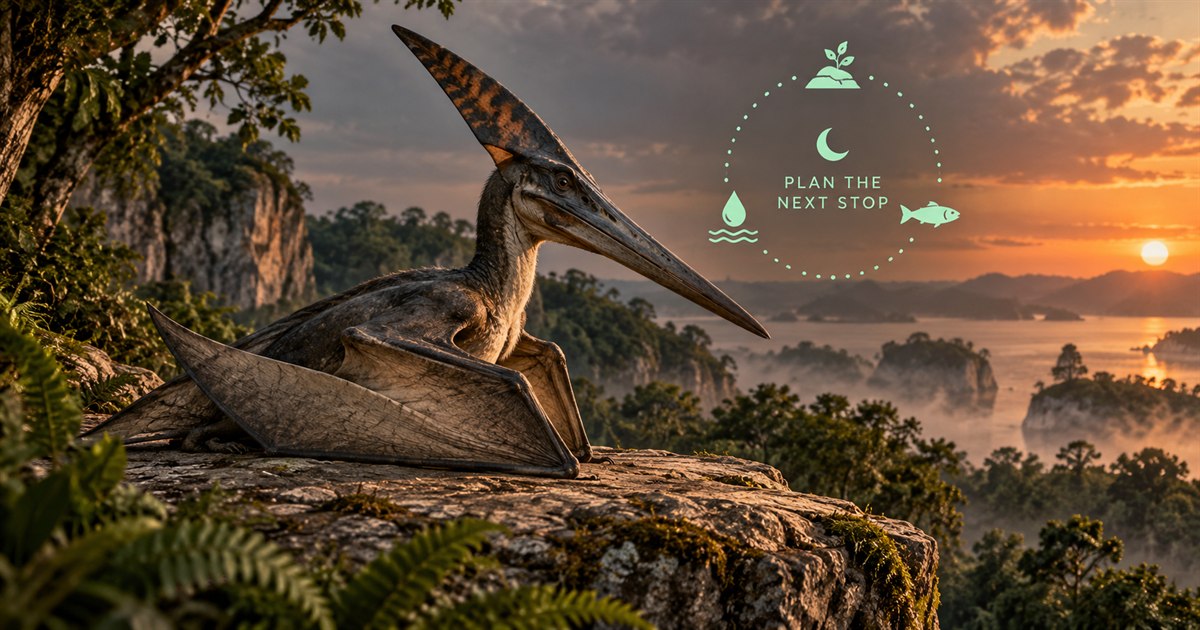
This guide covers EVRIMA, not Legacy. Default bindings have changed across patches, and personal keybinds can differ. Check the current Controls menu and on-screen prompts before assuming an old tutorial applies. The flight, launch, fishing and resting images are AI-generated illustrations, not official screenshots, an exact Gateway map or a promise that a pictured location exists.
The Isle Pteranodon controls: check the action, not just the key
The community Evrima Quick Guide flight reference documents repeated Spacebar presses for takeoff, Spacebar for climbing, WASD for movement, Ctrl for diving and Shift for faster flight. It also warns that information is being updated. Use these as starting points for checking your bindings, not as a reason to ignore a different prompt in your installed build.
The game's official Patch 0.21.321 announcement documents automatic flight when running off a ledge, Z air braking and a double-Ctrl barrel roll. It introduced a daytime spearfishing stance with a highlighted target caught using LMB. These are different actions from ordinary flying and airborne skimming.
Spearfishing now uses G by default. The later official Patch 0.21.720 highlights on Steam changed its default keybind to G and adjusted Pteranodon landing tolerance. That is why a video showing RMB, or a fan reference still mentioning E, can disagree with your game. Do not reset all your controls just to match an old guide; inspect the relevant action first.
- Spacebar: check your launch and climb action; the community reference describes repeated presses to leave the ground
- Z: air brake, useful for managing an approach
- Ctrl: dive; double press is documented for the barrel roll
- Shift: faster flight; monitor stamina rather than holding it throughout every trip
- G: the newer default spearfishing stance, not the airborne skim input
- RMB and LMB: context matters; skimming, latching and catching a highlighted spearfishing target are not interchangeable
How to take off as Pteranodon in The Isle EVRIMA
For ground practice, choose a dry, open patch with room above and ahead. Check your stamina and make the launch input deliberately. The community Pteranodon species reference describes pressing Spacebar three times to lift off. Once airborne, avoid immediately combining a steep climb, a sharp turn and a speed boost. Learn what one input does before combining several.
A helpful first exercise is a short out-and-back flight. Pick a visible landmark, launch, travel toward it without committing to a distant region, then return to the same general area. You are practising control, not trying to prove how far one stamina bar can take you. Keep the route simple enough that you can still explain where you will land.
Ledge flight is another launch option documented by the official patch notes, but do not treat an unfamiliar cliff as your first training exercise. Look below and beyond the edge before committing. A launch that works still needs somewhere sensible to end; height alone is not a complete travel plan.
If you cannot take off, separate the checks. Are you using the correct binding? Is the game receiving the input, rather than a menu? Is the launch space obstructed? Does the status panel show an injury? Test again in a clearer place only when moving there is sensible. Repeatedly pressing every movement key makes the cause harder to understand.
How to land, brake and approach a perch
Choose the landing area before the final approach. A broad surface is a better training target than a narrow branch or a gap you have never flown through. Approach with room to turn away, reduce speed gradually and avoid a last-second dive toward the ground. If the approach looks wrong, make another pass while you still have the space and stamina to do so.
Z braking is documented as trading momentum for increased turning ability. Apply it purposefully rather than treating it as an unlimited hover button. The community flight guide warns that prolonged braking can lead to a fall. Learn the response away from obstacles before relying on it beside a tree, wall or water surface.
Latching is a separate skill. The community reference describes slowing down and using RMB when approaching a suitable tree or rock face; not every surface accepts a latch. Do not assume a failed latch means the minimap is wrong, and do not keep charging the same object. Practise with a clear approach and check whether your current build's prompts and controls match the action you intend.
After touching down, look around before resting. A raised location may reduce one kind of exposure while making departure awkward. Check the room for your next launch, nearby activity and whether the spot still meets your immediate needs. No perch is guaranteed safe simply because you reached it from the air.
How to catch fish as Pteranodon: skimming versus spearfishing
Airborne skimming and stationary spearfishing are different feeding methods. The game's original Pteranodon release notes describe holding RMB close to the water above fish ripples, then releasing when prompted. Those historical notes explain the skim action, not the newer spearfishing keybind.
For a skim attempt, first inspect the water and leave yourself a clear exit. Line up a steady pass over visible fish activity rather than diving blindly toward every ripple. Follow the game's catch prompt and pull away instead of turning a missed attempt into a prolonged struggle at water level. Practise the approach separately if flying low is still difficult.
For spearfishing, use the current stance binding at suitable water or mud during the day; G is the newer default. Watch for a highlighted target and use the catch action, documented as LMB. The older official announcement also describes opening caught clams by throwing them against a hard surface. Fish-catching and clam-opening prompts are not the same as simply picking up any object near the shore.
If nothing happens, check the method, time of day, stance binding and target prompt before blaming the location. A hatchling or a different life stage may not have the same feeding options. Do not promise yourself a catch after a fixed number of seconds: availability and the conditions you are actually seeing matter more than a timer from someone else's recording.
Once you have food, consider where to deal with it without losing awareness of the surroundings. Check the current diet panel rather than assuming one fish solves every nutrient need. Our The Isle food and diet guide explains why feeding priorities are more useful than following an old universal menu.
Manage stamina with a small, repeatable flight loop
Our practical recommendation is to identify a launch point, a feeding option and a landing before extending a route. This is a planning habit, not a game mechanic or a guaranteed survival circuit. Start small enough to repeat it, then add distance only when the basic controls feel dependable.
- Check supplies before launching. Decide which need the flight is meant to solve
- Choose a destination and a fallback. One intended landing should not be your only idea
- Fly with a purpose. Avoid unnecessary climbing and speed boosts while learning
- Reassess after feeding. A miss does not require another attempt if conditions are worsening
- Land before the trip becomes an emergency. Check the stamina bar and surroundings again
Thermals and air currents are useful to understand, but do not replace direct observation with an assumption about invisible lift. Read the current game behaviour and compare it with the map reference. If the expected effect is not happening, choose a manageable next action instead of circling until you have no alternatives. See our stamina guide for broader travel and recovery planning.
Using TheIsleMinimap for Pteranodon routes on Gateway
Use Map Layers Settings to display relevant location names, drinking water, air currents and updrafts. Compare those references with your position and the terrain in front of you. Keep unnecessary filters off when they make a simple trip harder to read. A mapped current or resource is reference information, not proof that a particular approach is currently usable.
Refresh your position by copying the in-game Asset Location or using the enabled screen reader with a confirmed reading area while Lat and Long are visible. Follow the coordinates and location guide if the marker is not updating as expected. An older marker should not be treated as your current landing position.
With friends, private squads for up to four players help share updated positions and agree meeting points. Describe whether you mean the ground below, a nearby shore or a specific visible perch; a map coordinate alone does not settle that conversation. App squads remain separate from The Isle's in-game group limits and server rules.
Pteranodon flying and fishing: quick answers
Why does my Pteranodon not take off?
Check the launch binding, stamina, injuries and open space. The community flight reference describes repeated Spacebar presses; old videos may show a different input sequence. Try a simple launch before combining multiple actions.
Why does RMB not activate spearfishing?
Later official notes changed the default stance binding to G. Check your own Controls menu. RMB skimming while airborne is a different action from entering the spearfishing stance.
Should I learn fishing before exploring Gateway?
We recommend practising launch, landing and one feeding method in a manageable area first. It is easier to assess a longer trip when you already know how you will handle the next stop.
Does the minimap show fish that are alive right now?
No. Animal and resource references are not live prey tracking. Look for actual fish activity and prompts in the game.