
A video clip, an in-game replay and a screenshot serve different purposes in The Isle EVRIMA. Choose the one that matches what you want to keep: a shareable encounter, a session you can review through the game, or a clear still image. Then make a small test before relying on the setup during an important moment.
Choose a recording method, capture a short sample and watch the saved result. Check that the game is visible, the sound is what you intended and location details are not exposed. Keep enough lead-in to explain what happened, then save and review the final clip.
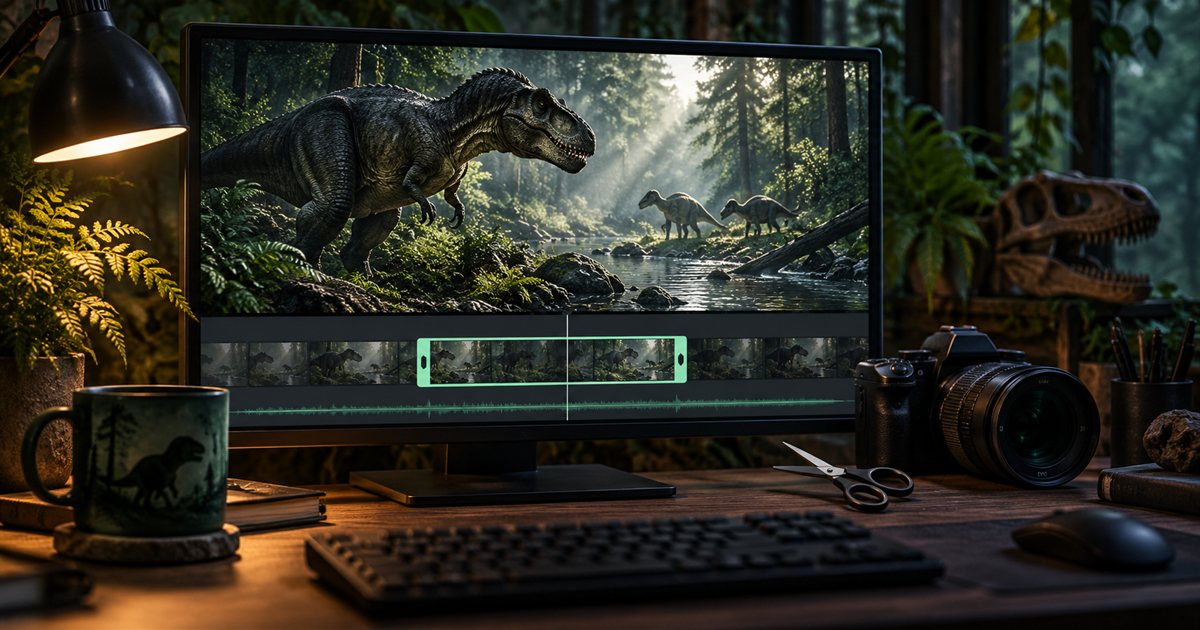
The three AI-generated illustrations are conceptual artwork, not screenshots of The Isle, Steam or a specific recording application's interface. Menu wording and replay availability can change. The official links below explain the relevant tools; your current game and client settings remain the place to confirm them.
Choose the result you actually need
| Method | What you keep | Useful for |
|---|---|---|
| Gameplay video | Captured pictures and the audio you configured | Sharing an encounter, a tutorial or a reproducible problem |
| The Isle's replay system | Replay data opened through the game, subject to its current support | Reviewing supported sessions with replay tools |
| Screenshot | A single still image | A condition panel, setting, landscape or visible message |
A screenshot cannot establish the sequence before and after an event. A video only shows what the capture actually recorded. A replay file is not automatically a ready-to-upload MP4. Deciding between them first avoids finishing a session with the wrong kind of evidence or nothing your friend can open.
Set up Steam Game Recording for footage
Open Steam > Settings > Game Recording. Choose background recording for unexpected moments, or on-demand recording for sessions you deliberately start. Check the storage location, disk allowance, audio selection and shortcuts. Background footage can be overwritten as its reserved space fills; save the moments you want to retain. These options are described in Steam's official recording FAQ.
To review footage, open View > Recordings & Screenshots. Select a recording, create a clip around the desired section, adjust its beginning and end, then save it. Use the export-video option when you need an MP4 for another editor or platform. A raw recording folder is not a substitute for that exported file.
Decide what you want to capture before choosing a long session. For example, a short demonstration of a control only needs the input, the visible response and a brief explanation. An encounter may need more lead-in so a viewer understands your position and condition. Recording more hours does not automatically make the important moment easier to find.
Watch a short sample before relying on the setup
- Pick a simple scene. Record a little movement and a clear change on screen so frozen or missing footage is easy to spot.
- Include the sound you intend to keep. Make a short voice test if you plan to narrate, then listen to the saved result.
- Check the framing. Confirm the game fills the expected area and important information is readable.
- Open the saved result. Do not rely only on a recording indicator or a folder appearing.
- Try the final use. If you need an exported video, play that exported file before the real session.
Repeat the small test after changing capture software, audio devices or the display arrangement. It is easier to discover a muted microphone or an unwanted panel in a sample than after an encounter you cannot repeat. If the footage needs a setting name or status message, hold it on screen long enough to read.
Understand what the in-game replay system can provide
The developers' June 2023 update notes introduced replay recording with F2 on servers that enabled the feature. Treat F2 as the original default to check against your current bindings. Availability, viewing restrictions and supported behavior depend on the current game and server; an old tutorial's limits are not a guarantee for every later build.
If the server has disabled replays, pressing a recording key does not give you permission or a method to bypass that setting. Ordinary video capture is a separate tool with a different result. Check which method is active instead of assuming a replay problem also means your video recorder has failed.
Recent official development posts have discussed further replay-camera work. Development descriptions do not establish that every mentioned control is already available in your public build. Look at the replay tools actually present rather than searching for an option shown only in a test or work-in-progress post.
Keep a shareable video copy of a moment you particularly value before a major game update. Do not assume a replay remains compatible forever or that sending its data file will let anyone watch it in a normal media player. If your current replay viewer has no suitable video-export option, use a tested video recorder while playing it back.
Use a screenshot when one clear frame is enough
Steam's default screenshot shortcut is F12, and it can be changed in Steam settings. The official Steam screenshot documentation also notes the Steam Overlay requirement. If the key does nothing, check that shortcut and overlay setup before repeatedly pressing it during play.
For a selected area of the screen, Windows + Shift + S opens the image-snipping overlay described in Microsoft's Snipping Tool instructions. Save the result and check the crop. For a bug report, include the relevant message and enough surrounding interface to show where it occurred; cutting off the setting name can remove the information someone needs to help.
Trim around a complete event
Begin before the action you want to explain and end after its visible outcome. A useful learning clip might show the condition indicators, the movement decision and the result. Avoid cutting so tightly that nobody can tell whether a warning or an obstacle existed beforehand.
Watch once for clarity and once for accidental disclosure. Keep the original if you expect to edit again, and give the final file a descriptive name you can recognize later. If the clip is for troubleshooting, write down the game version, server context and what you expected to happen. The troubleshooting guide explains how to narrow a problem without changing several settings at once.
Check coordinates, panels and the companion app
Review the actual output from your chosen recorder. Do not assume it includes or excludes the companion app simply because of how the screen looks while you play. A capture that includes Asset Location, a visible map marker or squad information can reveal more than the encounter itself.
TheIsleMinimap's sensitive-detail setting blurs selected fields in the companion app; it does not hide the entire map or blur The Isle's own Tab panel. A visible position marker can still reveal location. Our streaming and privacy guide explains the limits and a practical preview check.
Keep capture settings in your recorder. Before sharing, check for account details, license keys and private conversations in the chosen video and audio sources.
Check the cost of recording on your own PC
Compare a short section with capture enabled and the same sort of scene without it. If movement becomes less consistent, change one capture setting at a time and repeat the sample. Avoid changing game resolution, recording quality and several graphics options together, because you will not know which change helped.
Use the performance guide for that comparison. Keep an eye on available disk space and confirm where your final files went. A recording that stops partway through a session is less useful than a smaller capture you have tested and can reliably save.
Quick questions
Is a replay already a video I can upload?
No. A game replay and an exported video are different results. Open the replay with the supported game tools, then use a suitable capture or export workflow when you need a normal video file.
Should I use a screenshot or a clip for a bug?
Use a screenshot for a clear static message. Use a clip when timing, movement or a sequence of actions is the important part. Include the setting or panel name in either case.
Does saving a clip mean it is ready to publish?
Watch the final file first. Confirm the sound, context, readability and visible private details, then share the version you actually reviewed.