

A useful combat habit is to think about your next movement before committing to the current attack. Check your condition, the animal you are playing, the space around you and the route you could use to leave. Survival includes deciding that an encounter is not worth continuing.
This guide focuses on decision-making rather than a universal combo or matchup ranking. Its three AI-generated illustrations are conceptual artwork, not game screenshots, hitbox diagrams or verified attack ranges. Use your current controls and the actual game situation to make the final decision.
Decide what you are trying to achieve
Not every nearby animal is a fight you need to start. You may be defending access to food, moving through the area, meeting a companion or trying to leave. Identify that purpose before adding an attack to a situation that might otherwise stay manageable.
Look at your condition and what you know about the other animal. Appearance alone does not tell you its exact health, stamina, growth or nearby support. Keep uncertainty in the assessment instead of inventing a favourable explanation for every detail you cannot see.
Compare the possible reward with what continuing could cost. A meal may be valuable, but a prolonged pursuit can separate you from familiar terrain and other resources. Defending a position can feel important even after the reason for holding it has disappeared. Reassess the goal when the situation changes.
Follow the rules of the server you joined. Community restrictions can affect hunting, grouping and how encounters are handled. A tactical guide does not replace that server's current rules, and an app squad does not create permission to ignore them.
Practise the animal before depending on it
Review the current Controls menu for your playable. Identify the ordinary attack, alternate actions and any species-specific ability you intend to use. Practise one action at a time on ground you can inspect, in a permitted situation with a consenting companion where interaction is involved.
Pay attention to what happens after an input as well as what happens when it begins. Does your view move? Do you need space to turn or regain control? What visible feedback tells you the action ended? Learning the full sequence helps you make the next decision without guessing under pressure.
The game's official update announcements regularly cover balance and control changes. Confirm the branch and version when comparing a demonstration with your own game. A Legacy clip or a test-branch explanation may not describe the public EVRIMA behaviour you are using.
Use the species guide that matches your animal for more focused preparation: Omniraptor, Carnotaurus and Tenontosaurus have different tools. This article does not turn those differences into one shared attack pattern.
Keep ground available for the next movement
Notice where you are standing before closing distance. A rock, tree or steep bank can reduce the space available for your next turn. Open ground may make movement easier to assess, but it can also expose you to other animals. Choose based on the view and purpose you actually have.
Consider the position of both animals rather than looking only at the opponent's body. Where would your current movement take you if they turned, stepped away or approached? An attack direction is only one part of the geometry; your own landing or recovery space matters too.
| Before committing | Look for | Adjustment to consider |
|---|---|---|
| Near an obstacle | Room for your next turn | Reposition before using a movement-heavy action |
| Near water or a slope | Where momentum could take you | Move the encounter away from an uninspected edge |
| Near another animal | A departure that is still usable | Keep space rather than closing automatically |
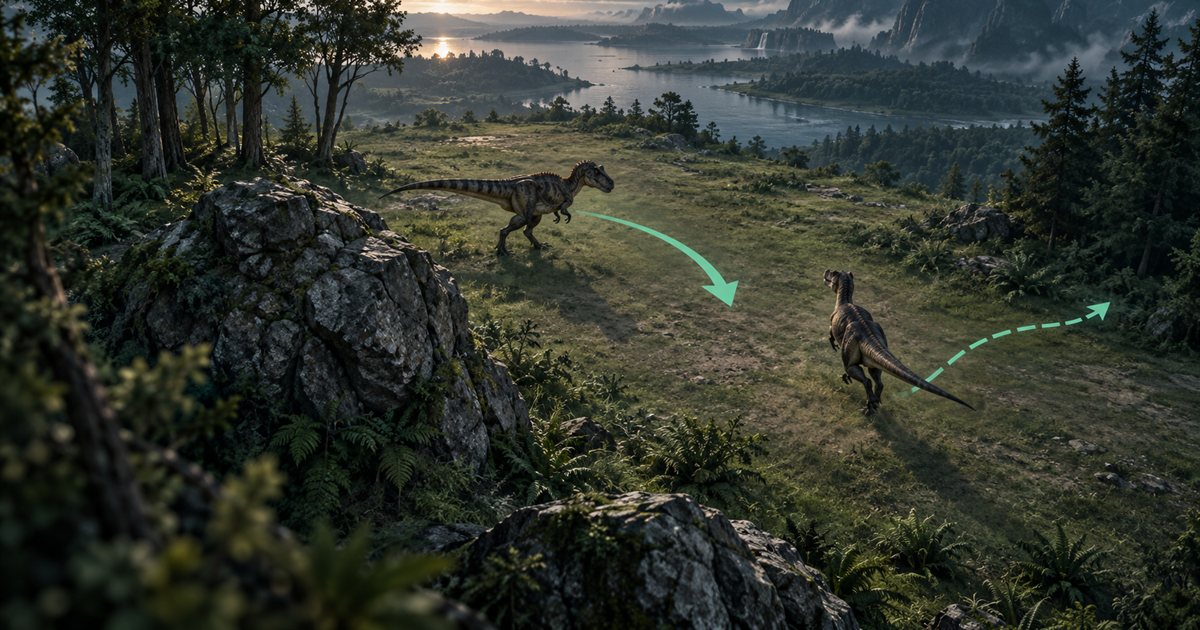
Do not make a fixed rule that an opponent can never reach a particular side of your animal. Turning, alternative attacks and changing positions can invalidate that assumption. Keep watching the actual response rather than trusting a static diagram as a blind-spot guarantee.
Budget for approach, action and departure
Read your current stamina before turning an encounter into a chase. The movement needed to approach is only part of the sequence. You may still need to use an ability, turn, leave the area and reach ground where you can recover.
Repeated sprinting and repeated attack attempts can become a habit when you focus on one target. Break that habit by checking what each action accomplished. If the same approach keeps failing, consider changing the position or ending the attempt instead of spending more movement on the same result.
Recovery and ability costs vary with the animal and current balance. There is no universal reserve percentage in this guide. Use visible condition feedback, experience with your own controls and the stamina guide to make a plan that includes getting out.
Avoid treating the stamina bar as the only condition that matters. Bleeding, fractures, diet and available resources can affect what you can reasonably attempt. Check the game's status information and recognise when continuing would make an already difficult recovery harder.
Watch the response instead of repeating a script
After an action, look at what changed. Did the other animal move away, turn toward you or remain in the same position? Are you still where you expected to be? The next decision should come from that updated situation, not only from the input sequence you planned beforehand.
Calls and animation cues are observations, not promises about intention or exact resources. A threatening call does not require you to answer with an attack. A retreating animal does not require you to chase. Compare several visible or audible clues and keep watching the surrounding terrain.
If another animal enters the scene, reassess immediately. Your original encounter is now part of a different situation. Keep track of where companions are, where unknown animals are approaching and whether the route you intended to use is still available.
Choose a departure before you urgently need one
A departure can be a broad direction on inspected ground rather than a perfect escape route. What matters is identifying usable space while you still have time to think. A narrow passage, steep drop or river may look like separation while creating a new problem.
Consider leaving when the goal is no longer useful, your condition is deteriorating, the position keeps worsening or new arrivals make the encounter harder to assess. You do not need to wait until every indicator is critical to decide that continuing has stopped helping you.

Retreating is still an active movement decision. Watch where you are going and how the situation follows you. Do not substitute an unplanned river entry for a landward exit simply because water is nearby; the river crossing guide explains the extra checks that choice requires.
Make coordination clear and brief
Tell companions what you intend to do before they commit based on an assumption. Simple messages such as moving away, holding distance or returning to a landmark are easier to act on than several conflicting instructions during the same moment.
Leave space for each player's animal and condition. Standing close together does not automatically create a useful formation, and having a companion nearby does not remove the need to know your own next movement. Agree on a regrouping direction when planning a departure.
TheIsleMinimap's private squad markers can help with general navigation and finding each other. They are separate from the game's grouping and combat systems. They do not report enemy positions, another player's stamina or whether a teammate's ability is ready.
After the encounter, check what needs attention
Once you have space to reassess, read your condition rather than judging recovery by appearance alone. Use the bleeding, healing and fracture guide for the next set of decisions. Inspect where you intend to rest and keep monitoring the surroundings.
Review one concrete lesson from the encounter. Was the approach too committed? Did you discover a binding you had not practised? Did a bank or obstacle remove an exit? A specific observation gives you something useful to change during the next manageable practice session.
Use the minimap for orientation before and after
Current position, location names and route references help you understand where an encounter is taking place and where you could regroup. Refresh coordinates when they are visible and check the freshness of the update. Open the features page for the app's navigation and squad tools.
Combat survival questions
Should I copy one combo for every playable?
No. Learn the controls and movement of the animal you are currently using.
Does a successful hit mean I should keep chasing?
Reassess the goal, position and condition before committing again.
Can the minimap show whether an encounter is safe?
No. Its reference map and supplied positions do not predict opponents or combat outcomes.