
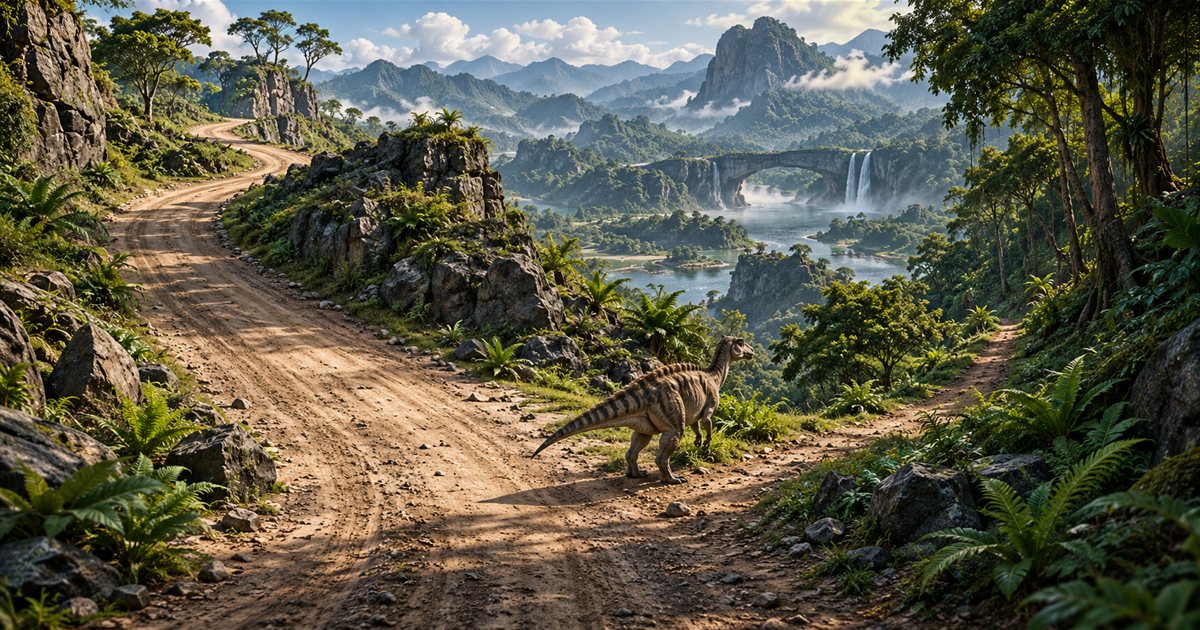
Roads and trails help you recognise where you are going on Gateway, but a line on the map cannot judge the journey for you. In The Isle EVRIMA, useful route planning combines your current position, visible landmarks, terrain and the condition of your dinosaur. Choose the next manageable section, inspect it as you travel and keep an alternative when the direct approach becomes uncertain.
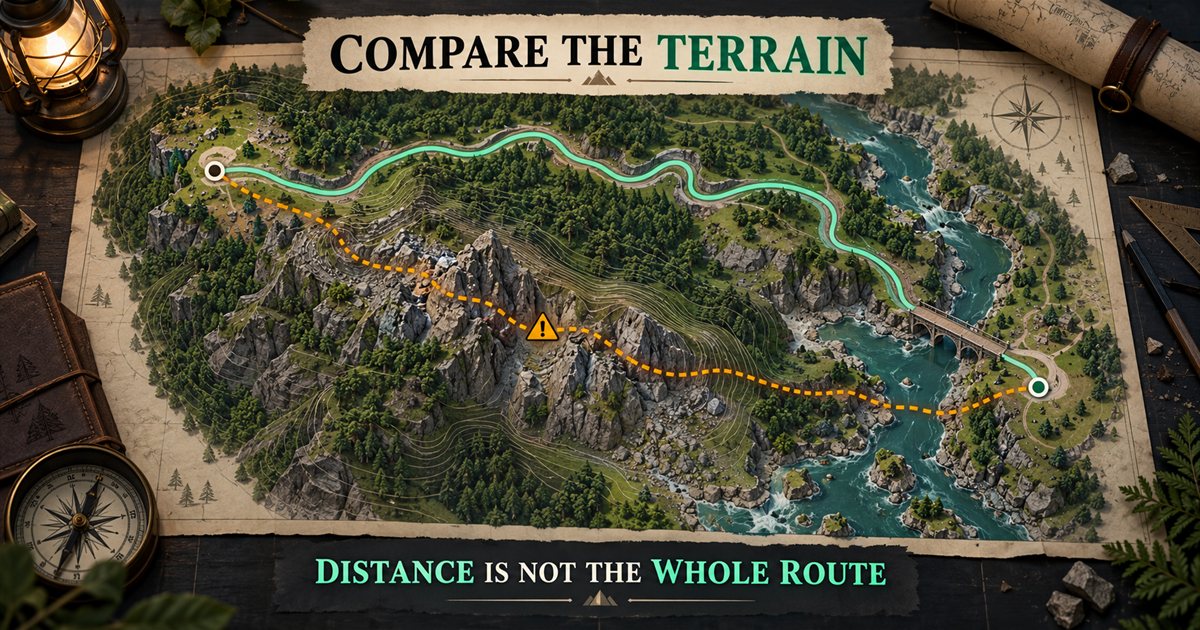
This guide covers practical navigation and the Roads & trails layer in TheIsleMinimap 1.7.1. Its three AI-generated illustrations use fictional terrain and candidate routes. They are not actual game screenshots, accurate Gateway road diagrams, verified shortcuts or automatically calculated paths.
What roads and trails offer
A road, smaller trail or recognisable junction can give you a reference to compare with the map. Following a visible connection may make orientation easier than repeatedly aiming across unfamiliar terrain at a distant point. It does not establish that the connection is empty, protected or the quickest option for your current animal.
The developers' 0.20.109 release notes added game trails along common travel connections, including areas around Highlands, West Rail Access and South Plains. That is historical context for their navigation role, not a current guarantee that every segment is unchanged or unoccupied.
The current companion bundle includes 48 road and 19 trail references in its combined layer. Those counts describe the bundled map data, not a live survey of every passable route in your server. Compare the drawn connection with what you actually see, particularly after game updates.
Do not confuse road references with the local movement trail. Roads & trails is mapped reference information. Movement trail is an optional short history of your own captured positions. One helps you inspect existing connections; the other shows a limited record of where your marker has recently been.
Start with a position and a purpose
Obtain a fresh coordinate update before choosing a long journey. A last known position restored from an earlier session is not evidence that you are currently at that point. Check Current Position and compare the local scene with nearby names or landmarks.
Next, state the immediate objective. Reaching water, regrouping, inspecting food and exploring an unfamiliar location create different priorities. A destination that looks convenient on the map may be a poor choice if it does not solve your current need.
- Confirm your own recent position and recognise a nearby reference.
- Choose a specific objective rather than a vague direction across the island.
- Inspect the available road or trail connections around it.
- Identify one intermediate checkpoint and an alternative approach.
- Check hunger, thirst, stamina and any condition that affects the decision.
- Begin with the next section and reassess before extending the plan.
A usable checkpoint is something you can identify again: a junction, distinctive formation, bridge approach or named area. It should help answer whether you are still on the intended route. A random point in uniform forest is harder to use if you later lose orientation.
Compare the terrain before taking a shortcut
Straight-line distance is only one part of a route. A shorter-looking approach can involve an awkward slope, a riverbank, a drop or a turn you cannot judge from the map. A longer visible connection may be easier to assess, but it still needs observation.
The official 0.21.734 notes enabled hill sliding and slowdown. Subsequent 0.21.772 notes included hill-slide fixes. These changes reinforce why old videos and map distances should not be treated as a permanent movement formula for a particular slope.
Look at the approach from a point where you can still choose another direction. If the route drops below your view, avoid committing solely because a marker lies on the other side. Inspect the next section before spending the resources needed to reach it.
| Route feature | Question to ask | Useful response |
|---|---|---|
| A steep or hidden slope | Can I judge the descent and return from here? | Inspect the approach or choose a connection with clearer terrain. |
| A river or wet bank | Where will I leave the water on the other side? | Identify the exit before committing to a crossing. |
| A narrow passage | Does this fit my current character and leave room to respond? | Check it before treating it as a shortcut. |
| An exposed stretch | What can I see, and what alternatives remain? | Reassess the live surroundings rather than assuming a road is safe. |
| A longer detour | Do I have the resources and a purpose for the extra travel? | Compare the whole journey rather than choosing length alone. |
Travel between useful checkpoints
Keep the next recognisable feature in mind while moving. On arrival, look back, compare your position and choose the following section. This turns a long journey into decisions you can update as conditions change.
At a junction, compare more than the direction of the line. Check the road shape, nearby terrain and your latest coordinate reading together. If one clue disagrees, stop and resolve the mismatch before heading farther down the wrong connection.
Manage stamina using the game's feedback. Do not assume you can sprint an entire mapped segment because another player did it in a guide. The stamina guide explains planning movement and recovery without claiming a universal travel budget.
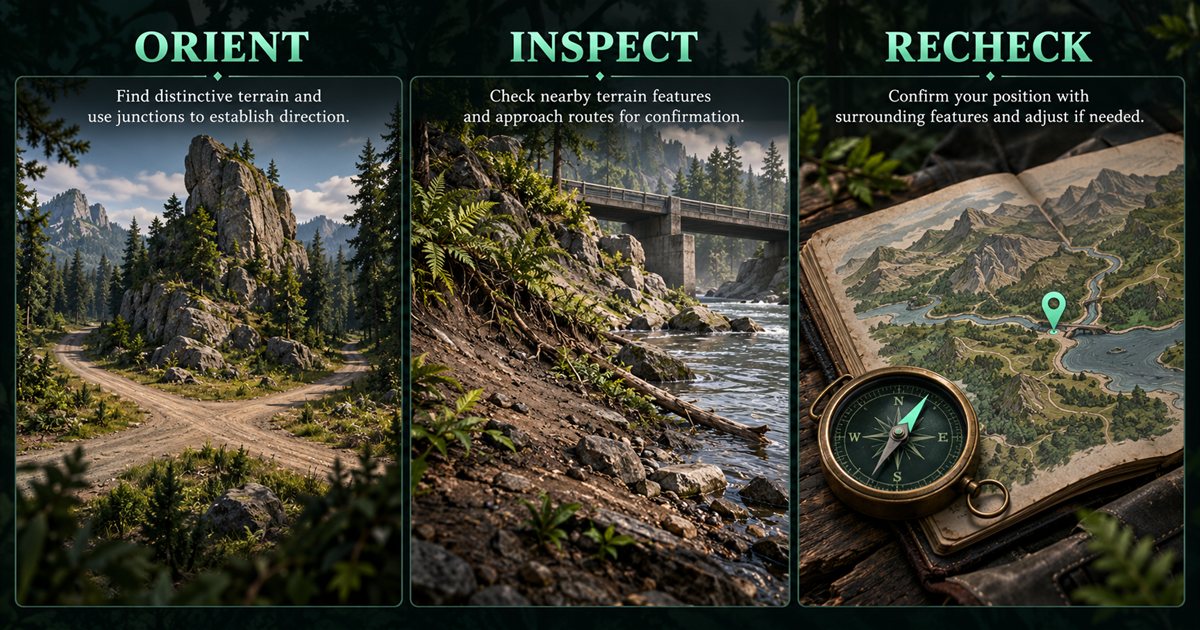
If you lose the route, return to the last feature you can identify where practical. Repeatedly switching between guessed shortcuts can make the map harder to reconcile with the scene. A fresh reading and a known landmark are more useful than increasing zoom without knowing what you are looking for.
Plan resource detours and crossings deliberately
Food and water references can help you compare possible stops, but they are not live availability or safety reports. A nearby marker may require a different approach from the road. Reassess the bank, ground and surroundings when you leave the connection you were following.
Before a river crossing, identify both the entry and a usable exit. A road approaching water does not prove that you can simply continue straight through it. The river crossing guide covers that decision in more detail.
For an Earthworks stop, choose the resource for a reason rather than detouring to every marker. The gastrolith and clam-rock guide separates stomach management from food collection. If you are considering a tunnel as an alternative, read the caves guide before treating exit points as a connected route.
Use the Roads & trails layer in TheIsleMinimap
Open Map Layers Settings, select General, enable General layers and select Roads & trails. Roads and smaller trails share this combined filter. Opening the tab alone does not enable the group or its individual selection.
Add Location names and Landmarks for orientation, with Drinking water if it helps your objective. Hide unrelated resource groups when the map becomes crowded. The map layers guide explains retaining individual preferences while temporarily hiding a group.
Use zoom and pan to inspect the area, then reset the map view if you lose the wider context. Follow player can bring your marker back into view when a position update takes it outside the visible map; it is not a permanently camera-locked navigation mode.
Choose your route between the mapped connections. A squad pin marks an agreed destination, rather than a calculated turn-by-turn path.
Reassess when the route changes
If you encounter unexpected terrain, visibility, activity or resource pressure, update the plan at the next reasonable point. Reaching the original destination is less important than recognising that the assumptions behind the journey have changed.
When travelling with friends, name the next checkpoint and say when you divert. Their map marker may show their last supplied coordinates, so do not assume a nearby dot means they can see your junction or are on the same side of a slope. Confirm the live situation before regrouping through unfamiliar ground.
If the app layer is missing, check the General master switch and Roads & trails filter. For a persistent app issue, use an Account Portal support ticket with the app version, relevant area and a redacted screenshot. Avoid deleting configuration folders or changing calibration to solve a route that differs from your expectation.
Quick answers
Are roads safer than travelling through forest?
No universal safety ranking is promised. Visibility, terrain and current activity matter; the layer does not detect threats.
Does the app choose the fastest route?
No. It shows reference connections and your supplied position. You compare the options and control the journey.
Should I leave every layer enabled?
Use the references relevant to your immediate task. A readable map and a fresh position are more helpful than unrelated markers covering a junction.