

Vomiting changes the next decision you should make in The Isle EVRIMA. Before taking another mouthful or sprinting toward a salt lick, check your condition, the ground around you and the resources needed for the trip. Recovery is easier to manage when you stop treating every problem as a reason to keep eating.
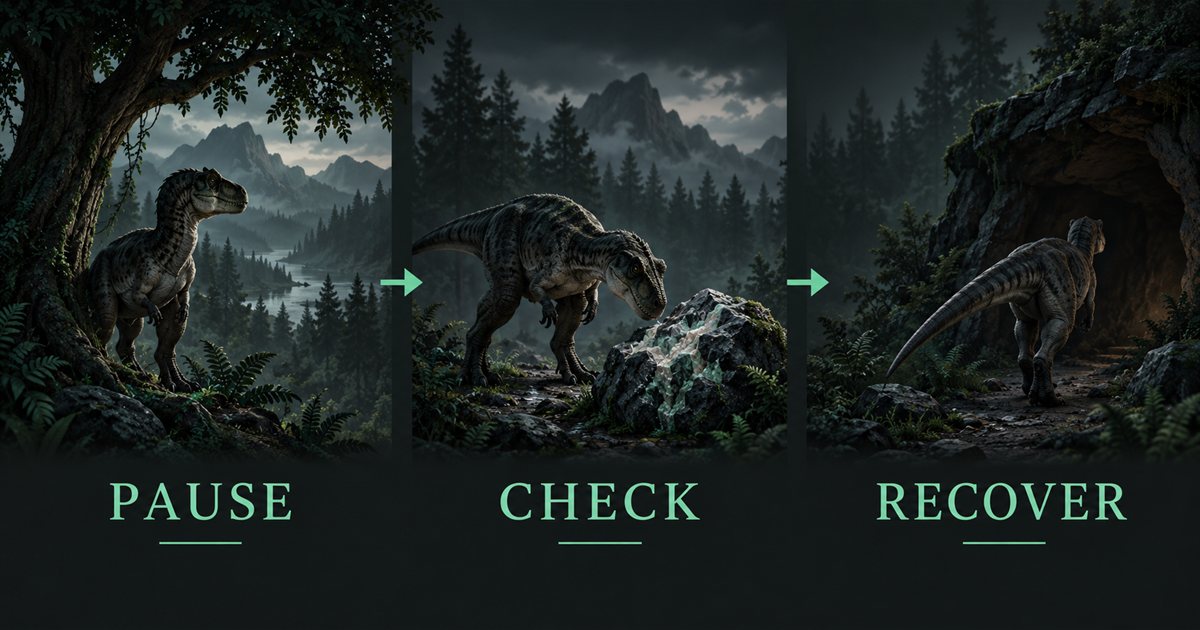
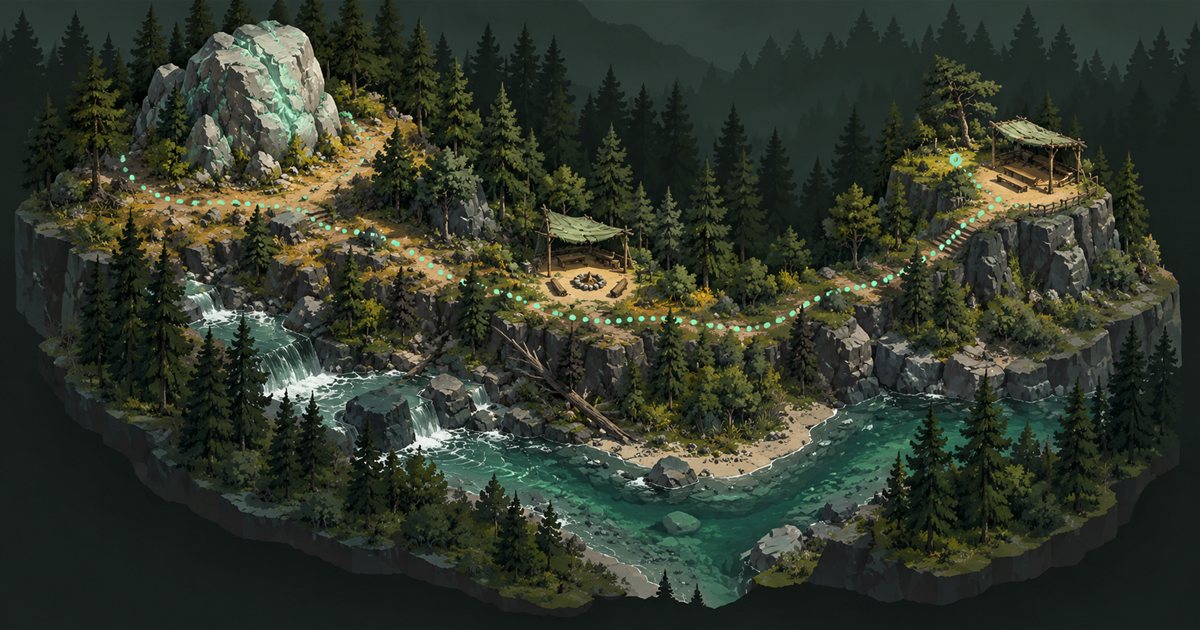
This guide covers sickness decisions, salt lick interactions and Gateway route planning. Your current Status Report, visible interaction prompts and server rules take precedence over historical descriptions. The three AI-generated illustrations are conceptual teaching artwork, not screenshots, exact salt lick appearances or verified Gateway locations.
Vomiting, sickness and reduced resources
The official September 2023 vomiting rework described sickness after vomiting, reduced maximum hunger, thirst and stamina, difficulty gaining nutrients while sick, and further vomiting that could extend the effect. It also described faster removal of negative effects through salt lick interaction.
Those notes explain the relationship between vomiting and recovery. Their published five-minute duration is a historical value, not a current countdown promised by this guide. Compare the status shown in your installed build rather than assuming that every cause, species and update uses an identical timer.
Look at the distinction between a resource bar's current amount and its available maximum. If the maximum is affected, repeatedly filling the stomach may not solve the underlying condition. Likewise, having food nearby does not automatically mean that the food will supply the nutrients you intended to gain.
Start with the panel, then observe the character. Read any named condition, note hunger and thirst, and check whether stamina is sufficient for a short relocation. If you were also attacked, consider the injury separately. A recovery resource should not distract you from an active opponent or an unsafe bank.
What to do immediately after vomiting
Pause the feeding attempt and regain awareness of the surroundings. Another player may still be beside the body, and the animation may have interrupted the action you expected. Choose a nearby place where you can inspect your status without committing to a long journey.
Next, decide which problem is most urgent. A threatening animal, very low thirst and a depleted stamina reserve require different responses. Moving a short distance into cover may be more useful than immediately choosing the most distant recovery marker on the map.
| What you observe | Useful next check | Practical decision |
|---|---|---|
| Vomiting while feeding | Status effect and stomach room | Stop the same feeding loop and reassess the meal |
| An animal still approaching | Exit terrain and usable stamina | Resolve the immediate encounter before planning recovery |
| Very little thirst remaining | A workable water approach | Plan around the urgent resource rather than a distant destination |
| A salt lick reference nearby | Actual ground, traffic and interaction | Approach cautiously and confirm the resource in the game |
These are editorial decision aids, not automatic game rules. You may need to revise the order when the terrain or encounter changes. A destination selected before the attack is not necessarily the right destination after it.
What a salt lick is useful for
Salt licks are interactable recovery resources associated with vomiting debuffs. Their recovery role appeared in the official Update 5 notes, followed by the more detailed sickness rework. Use the interaction available at the actual resource and inspect the resulting status.
Treat a salt lick visit as a specific response to a specific condition. It is not a general promise to restore every aspect of your dinosaur. If your problem is an injury, review the separate bleeding, healing and fractures guide and the relevant game status rather than assuming the same resource addresses it.
After an interaction, compare the panel with what you saw before arriving. Improvement in one condition does not necessarily resolve hunger, thirst or the danger around the location. Decide where to go next while you still have a clear route away.
Salt licks and Ceratosaurus bacteria need separate attention
The official June 2025 patch 0.20.109 notes record salt licks draining bacteria, alongside bacteria draining over time. That makes the bacteria state a separate consideration when playing Ceratosaurus.
Do not describe visiting a salt lick as gaining a universal combat benefit. Read the bacteria indicator and your current condition before and after the interaction. A resource used for one recovery goal can also change a species-specific system you were planning to use later.
Ceratosaurus manual vomiting around a body is also a different action from involuntary vomiting and sickness. If you are learning that species, use our Ceratosaurus guide for the separate control and carcass context. Repeatedly experimenting with a species ability is a poor way to investigate an unfamiliar debuff while already short of resources.
Plan a salt lick route that you can actually complete
Begin with your present position and the terrain you recognise. Compare the nearby reference options, then consider the route between them and your dinosaur. Straight-line proximity tells you little about a cliff, steep slope, river crossing or crowded approach.
Choose a first stopping point as well as a destination. It could be a recognisable bend in a trail or a sheltered place before a clearing. This lets you reassess thirst and stamina during the trip instead of treating the original plan as a commitment.
For example, a closer marker across a river may require a crossing you have not inspected. A somewhat longer land approach may offer simpler exits and a place to pause. Compare the actual risks rather than deciding entirely from map distance. See the river crossing guide before making water part of an urgent recovery route.
Approach the location, then confirm the interaction
Slow down before entering the final open approach. Look for movement, listen for nearby activity and identify where you would leave. A resource can attract other players even when you arrived for recovery rather than food.
At the resource, follow the current prompt and your own bindings. If nothing is available, check your position and the object instead of repeatedly pressing an assumed key. A map reference and a game interaction are two different pieces of information.
Keep the exit in mind while interacting. If the area changes, reassess immediately. You do not need to remain beside the resource simply because the journey there took effort. After checking the result, relocate toward a suitable food, water or resting option.
Resume feeding with a reason for the next mouthful
Reopen the Status Report before eating again. Check the condition, remaining stomach room and the nutrients you still need. Choose a food you can identify and compare the bars afterward. Avoid testing several uncertain foods at once, because then it becomes harder to understand what changed.
Leave room for the meal you actually need. An exposed large body is not necessarily preferable to a smaller suitable option. Our carcass and organ guide covers the next feeding decision, while the food and diet guide explains the broader nutrient plan.
Find the Salt Licks reference layer in TheIsleMinimap
Enable the General layer and its Salt Licks sublayer to see mapped reference locations. Keep useful context such as drinking water and roads or trails visible, then reduce other filters if they make the route hard to read. The map layers page explains the available groups.
Update your position through the supported coordinate workflow before using the map for the journey. TheIsleMinimap shows reference data; it does not read your sickness, bacteria or stomach, perform the salt lick interaction, or detect hidden players. Confirm the resource and the route in the game.
Salt lick and vomiting questions
Should I keep eating immediately after vomiting?
Pause and inspect the condition first. Repeating the same action gives you little information and may work against recovery.
Will a salt lick fix every injury?
Use it for the recovery role described by the game, then check each remaining status separately.
Does a map marker mean the approach is safe?
No. It identifies a reference location. Traffic, terrain and your condition still require observation.