

A carcass in The Isle EVRIMA is a feeding opportunity and a place other animals may want to visit. The useful question is not simply whether you can eat it. Check what your dinosaur needs, what the body provides and whether you can leave after the meal.
This guide explains carcass assessment, meat and organ choices, carrying decisions and practical scavenging. Follow your current diet panel, interaction prompts and server rules. Its three AI-generated illustrations are conceptual teaching images, not screenshots, exact anatomy references or live food locations.
Check the carcass before approaching it
Look beyond the body. Find the open approaches, the nearest cover and the route away. Watch for an animal moving between the body and nearby water, another player waiting at the tree line, or a group returning from the opposite side.
A motionless clearing is not proof that the food is unclaimed. Spend a moment observing from somewhere that leaves you room to move. Hunger can make a body look like a deadline, but lowering your head immediately may create a much more urgent problem.
Identify the body as well as you can before choosing a feeding action. Your current species, growth, diet and the state of the food matter. If you are unsure what you found, inspect the available interaction rather than using an old prey chart as certainty.
Community servers may have body ownership, contesting, grouping or feeding rules. Read the rules for that server before entering a dispute. A tactic that works mechanically can still break the server's conditions, and this guide does not supply permission to ignore them.
Choose a goal: hunger, nutrients or a short emergency meal
Open the Status Report and compare stomach capacity with nutrient needs. A nearly full stomach and an incomplete nutrient combination call for a different choice from an empty stomach during urgent travel. Decide what the next portion is intended to accomplish.
For a normal meal, use the current preferred-food list and the nutrient display as your reference. After feeding, inspect the result instead of assuming that every edible item supplies the same nutrient value. This is especially helpful when learning a new dinosaur.
For an emergency meal, you may decide that gaining some usable food and leaving is sufficient. You can improve the broader diet afterward in a quieter place. Avoid staying beside a contested body only because the first portion did not create the ideal nutrient balance.
Our food and diet guide covers the broader planning process. Keep that plan flexible: a good meal is one you can reach, use and leave, rather than a perfect theoretical combination somewhere you cannot safely approach.
Meat, organs and bones are different feeding choices
The developers' 2022 gore and diet discussion described carcass stages and species differences in using flesh, organs and bones. That was development context, not a permanent compatibility list. Use it to understand why body condition matters, then check the live game for your animal.
| Food category | What to inspect | Decision to make |
|---|---|---|
| Meat from a body or a piece | Source, current condition and diet result | Whether it addresses hunger and the nutrients you need |
| A separate organ | Available handling interaction, item size and nutrient result | Whether this particular portion is useful and manageable |
| Bones or a heavily depleted body | Your species' current feeding capability | Whether it is appropriate food rather than assuming all carnivores can use it |
This is a decision table, not a fixed nutrient chart. Organ labels and nutritional assignments should be checked against the current build. A repeated heart-to-one-nutrient rule from an old video is less useful than confirming what the selected food actually changes for your present animal.
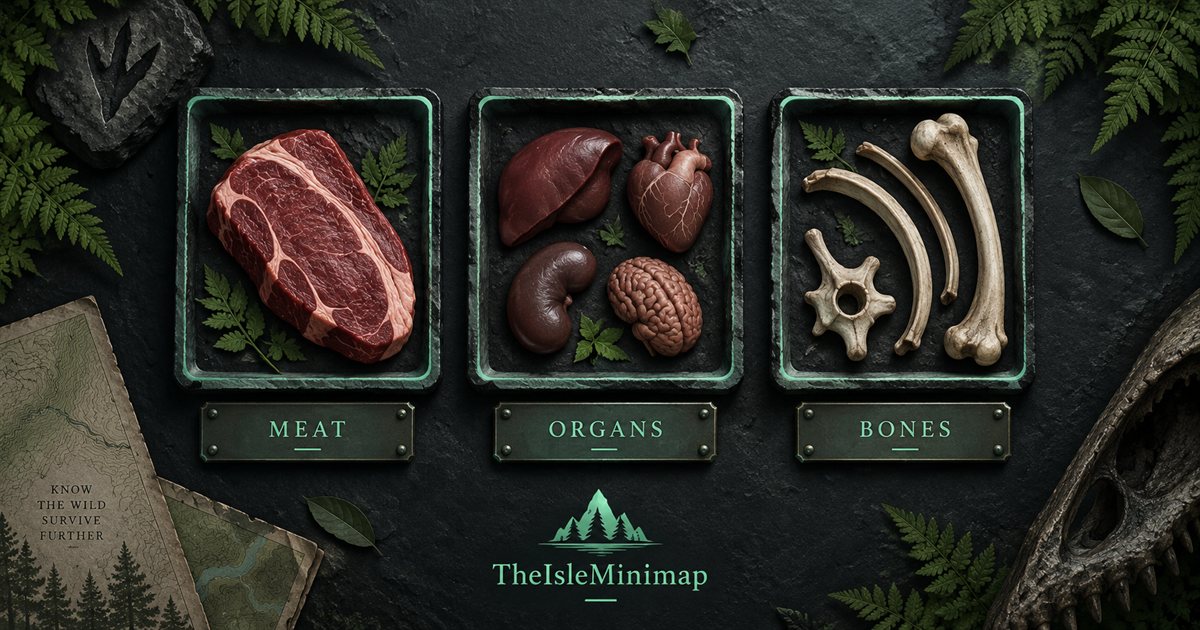
How to approach organ handling without guessing the input
Check your current Controls menu for the corpse-handling or thrashing action available to your dinosaur. Use the body interaction shown by the game and observe the resulting item before attempting to pick up, carry, eat or swallow it. Personalised bindings and species abilities can make a copied input sequence misleading.
Practise this on a body you are allowed to use in a calm area. Test one action at a time and release it before the next attempt. If the expected organ or piece does not appear, check the body's state and your position instead of performing a long string of different inputs.
The official patch archive records organ food values being adjusted to the source animal's size, alongside fixes for dragging, swallowing and food-piece interactions. These historical changes are a reason to avoid promising that every organ is one identical meal or that every interaction failure means user error.
Respect the current size and swallowing prompts. If an item is too large or the game refuses the action, choose another available feeding interaction or another portion. Repeated attempts do not create extra stomach room. Check the bars after a manageable portion, then decide whether you need more.
Should you carry food away or eat beside the body?
Moving a usable piece may let you feed somewhere with a clearer exit. First check whether your dinosaur can handle the item, what route you would take and whether that move complies with the server's body rules. A narrow path or awkward slope can make the trip less attractive than it looked.
Do not assume that carrying food makes it invisible to other players. You can still be seen, and the route may bring you past someone who was not near the original body. Choose a destination before lifting the piece rather than wandering with food while searching for cover.
Eating in place can also be a reasonable decision when the area is understood and the meal is short. Take the portion you need, check the surroundings again and leave while the exit remains clear. Time spent managing a large body should have a purpose beyond keeping possession of it.
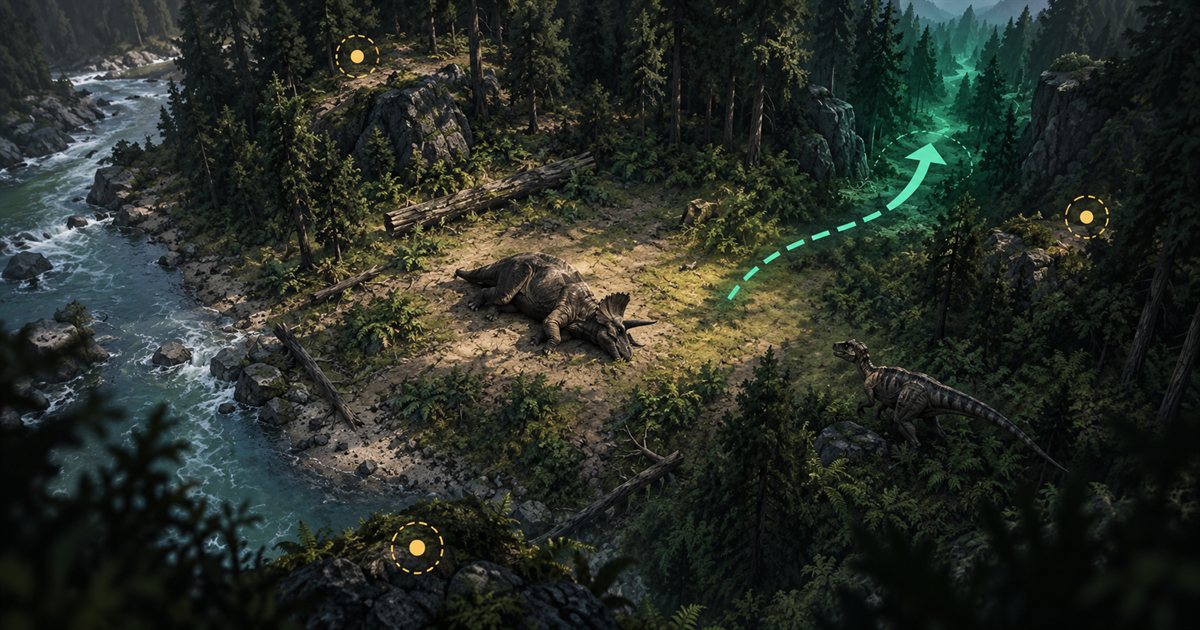
Carcass condition, unsuitable food and vomiting
Freshness and decomposition can change the feeding decision. Do not treat a scavenging species' capabilities as permission for every carnivore or omnivore to use the same food. If the item is unfamiliar or appears depleted, check the current diet and interaction before eating it.
Ceratosaurus has a distinct scavenging and bacteria context, covered in the Ceratosaurus guide. Its manual vomiting around corpses is a species utility, separate from a general instruction for obtaining organs. Learn its resource cost and current action before experimenting.
If you vomit, stop the feeding loop and inspect your condition. Repeating an uncertain meal immediately can make it harder to understand the problem. The salt licks and vomiting guide explains recovery decisions without promising a universal cure timer.
Make each return to the body a new decision
A quiet first visit does not guarantee a quiet second one. Before returning, look again at the approaches and any animals that have arrived. Your stomach may now be fuller, your stamina lower and your need for the remaining food less urgent.
When travelling with friends, agree who approaches and who is leaving. Avoid crowding the same interaction or treating every nearby species as an automatic target. Keep coordination within the server's grouping and combat rules.
If another animal appears, compare the value of the next portion with the cost of remaining. Leaving with a useful meal is often a better outcome than staying until you need an emergency retreat. The combat survival guide discusses disengagement and terrain decisions in more detail.
Use Gateway references for a feeding route
TheIsleMinimap's reference layers can help you understand nearby water, roads, trails and mapped animal areas. They do not detect live carcasses, organs, enemies or diet values. An animal reference location is a place to investigate, not a guaranteed prey spawn or meal.
Update your coordinate position, select the filters useful for the trip and choose a recognisable stopping point. If the first food option is absent or unsuitable, revise the plan while you still have another workable direction. Avoid repeating a long circuit merely because a reference marker remains visible.
For the distinction between reference data and current availability, read the AI spawns guide. The map layers page shows the available groups, and the tutorial explains position updates and basic navigation.
Carcass and organ questions
Is every organ the same amount of food?
Do not assume that. Source size and the current item interaction matter; compare the result in your diet panel.
Can every carnivore eat bones or rotten food?
Check the species and current build. A specialised scavenger's feeding options are not a universal rule.
Does TheIsleMinimap show fresh bodies?
No. It supplies mapped reference layers and your supported position workflow, so food must be found and assessed in the game.